
And If I Fall Asleep In Your Arms
Please wake me up in my dreams

Okay, friends and neighbors, let’s take a look at round #2 with my large format camera!
Here, was the first go ‘round…
Rusted Brandy In A Diamond Glass

After four months, I finally got off the schnide, and put a couple of sheets through my Graflex View II camera… and then processed the film, myself.
I loaded up four more sheets of film, on Labor Day, and tried some new things.
I shot two sheets at my house, using my shack out back, aka, my pottery studio, as my first subject.
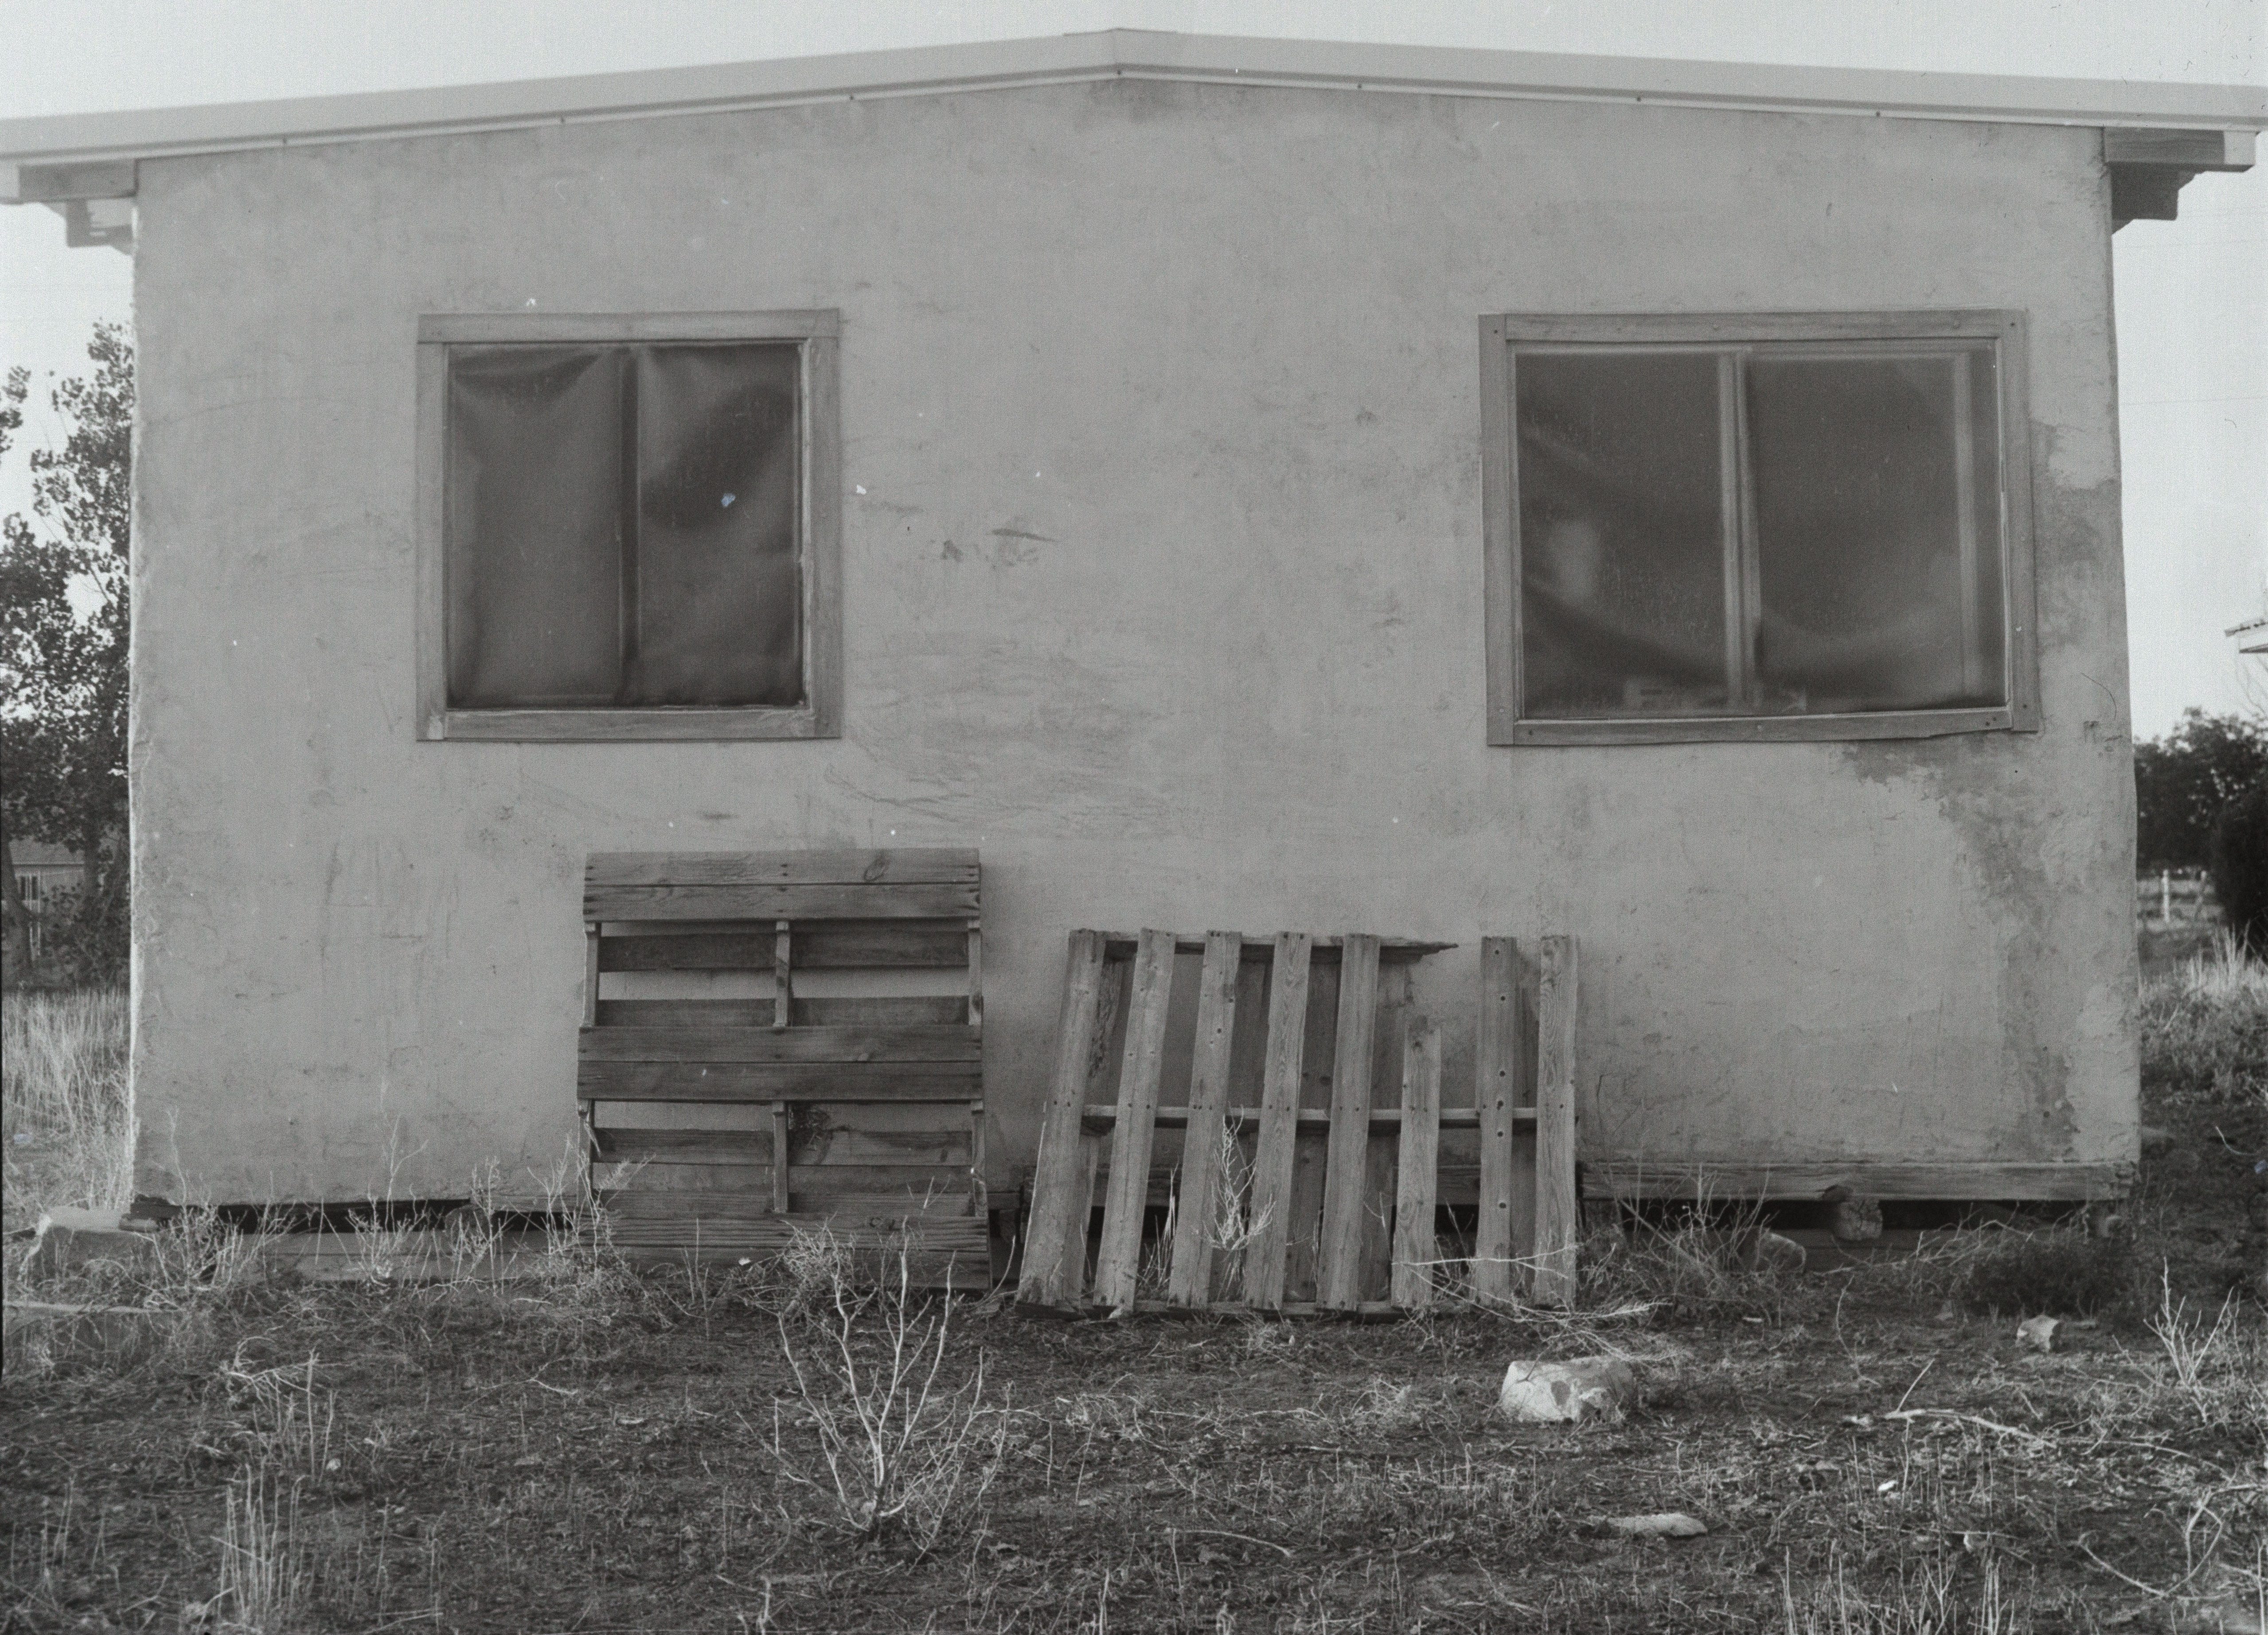
All of the shots in this post were taken on Monday, the first of September, and developed in the afternoon. I scanned the shots this morning, and here are the results.
I scanned all three of the shots that turned out at different ISO’s, with an aperture of f8, on my Canon 5D MKIII, fitted with my Zeiss Makro-Planer 100mm lens. The shot above was scanned at ISO 100. I used my regular light meter this time, not the terrible iPhone light meter that I downloaded last time, and I was much happier with the density of the negatives this time, as opposed to the over-exposed negatives from the first attempt. It is certainly easier to get a useable scan when your exposure is balanced.
I also used Lightroom Classic to convert these shots. I typically use the tone curve controls to switch the negative to a positive, and using that method seems to work, but I was getting a strange pink color-cast to the B&W image. I had also gotten a pink color-cast to the first batch of scanned negatives, seen in the previous post, above, and I had to pour some kung fu onto the scanned file to remove it. I realized this morning that I had forgotten an important step, I did not convert my RAW file into B&W.
You might ask, if I am scanning a B&W negative, why would I need to convert the RAW file to monochrome, in Lightroom Classic? It’s because of the “Bayer Filter” on my camera’s sensor.
A Bayer Filter, is a Red, Green, Blue filter, that covers the sensor, allowing the sensor to depict color. Some cameras, notably, certain Leica cameras, shoot monochrome exclusively, so there is no RGB filter over the lens; you get true monochrome straight from the sensor. The pink cast that I was seeing in my scanned negatives was a result of the Bayer filter, essentially, I was shooting a color digital file of a B&W negative. If you use Lightroom Classic, press the “V” key to toggle between color and monochrome.
What a fucking difference!
As soon as I pressed the letter V, the shot looked 100% better!
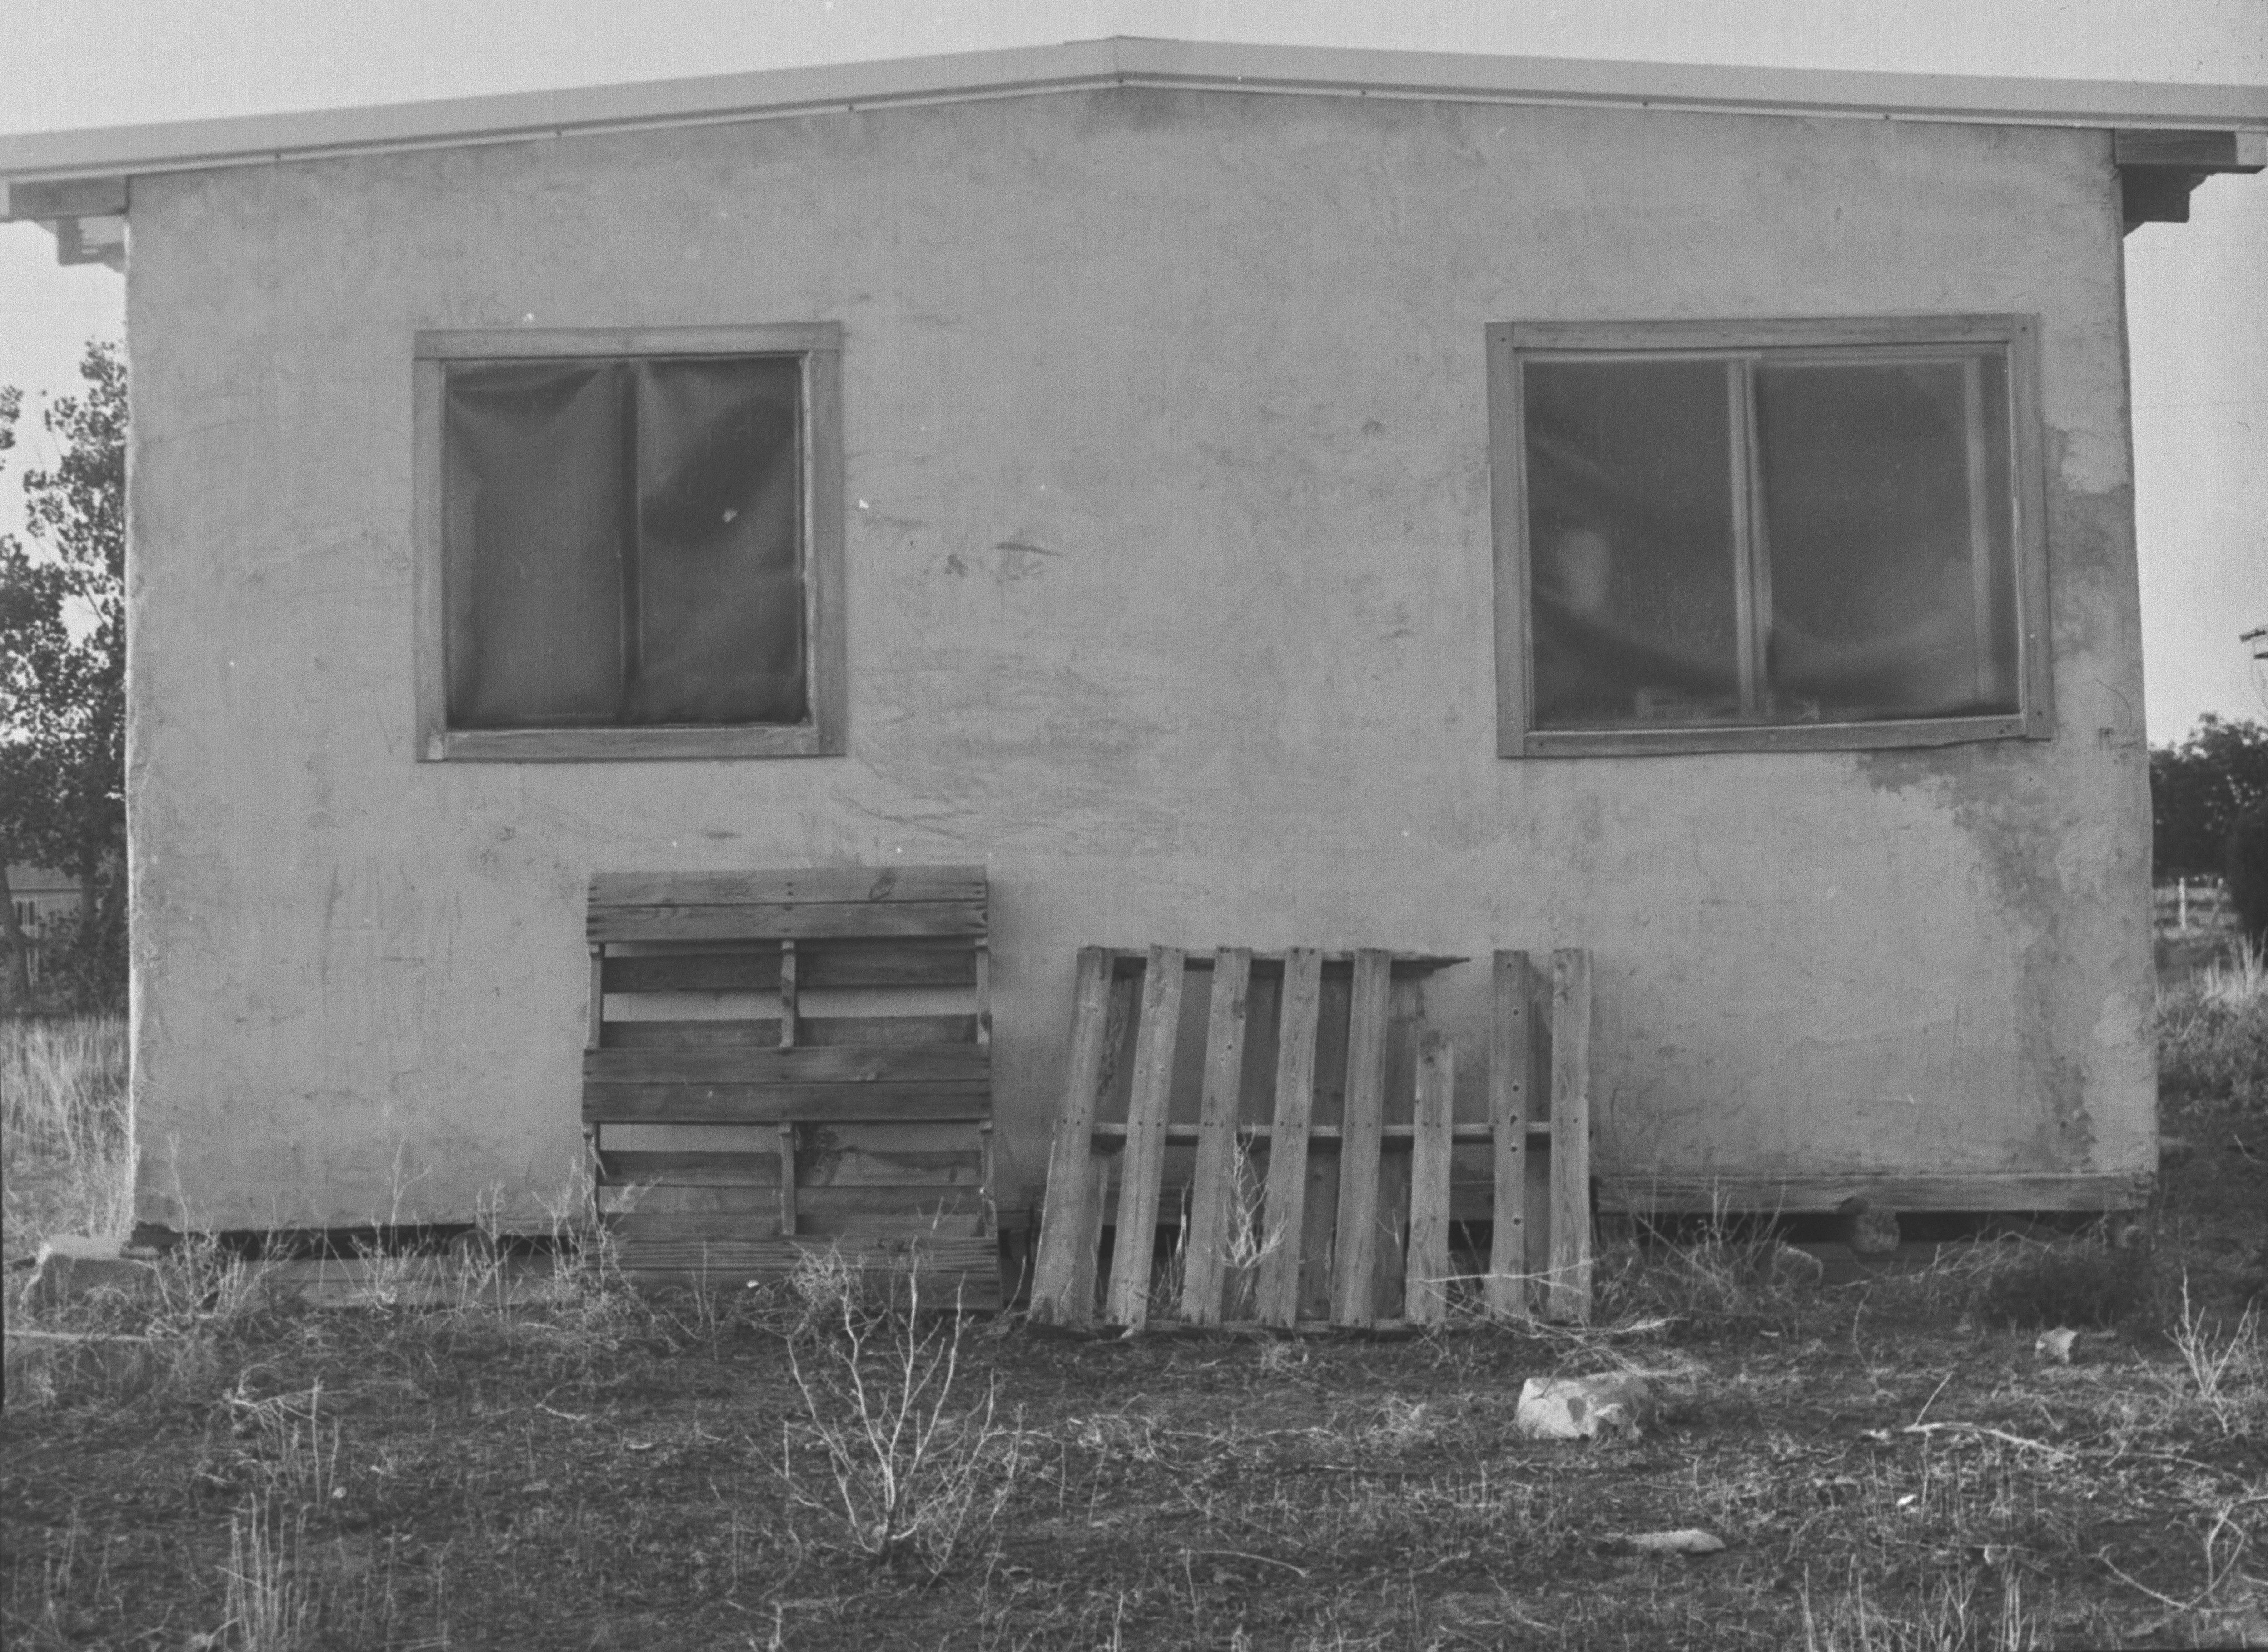
The second shot, above, was scanned at ISO 125, f8.
The scan was a bit darker than the ISO 100 scan, and I did not need to make as many adjustments to get to this level of exposure. The last scan, was shot at ISO 160, f8.
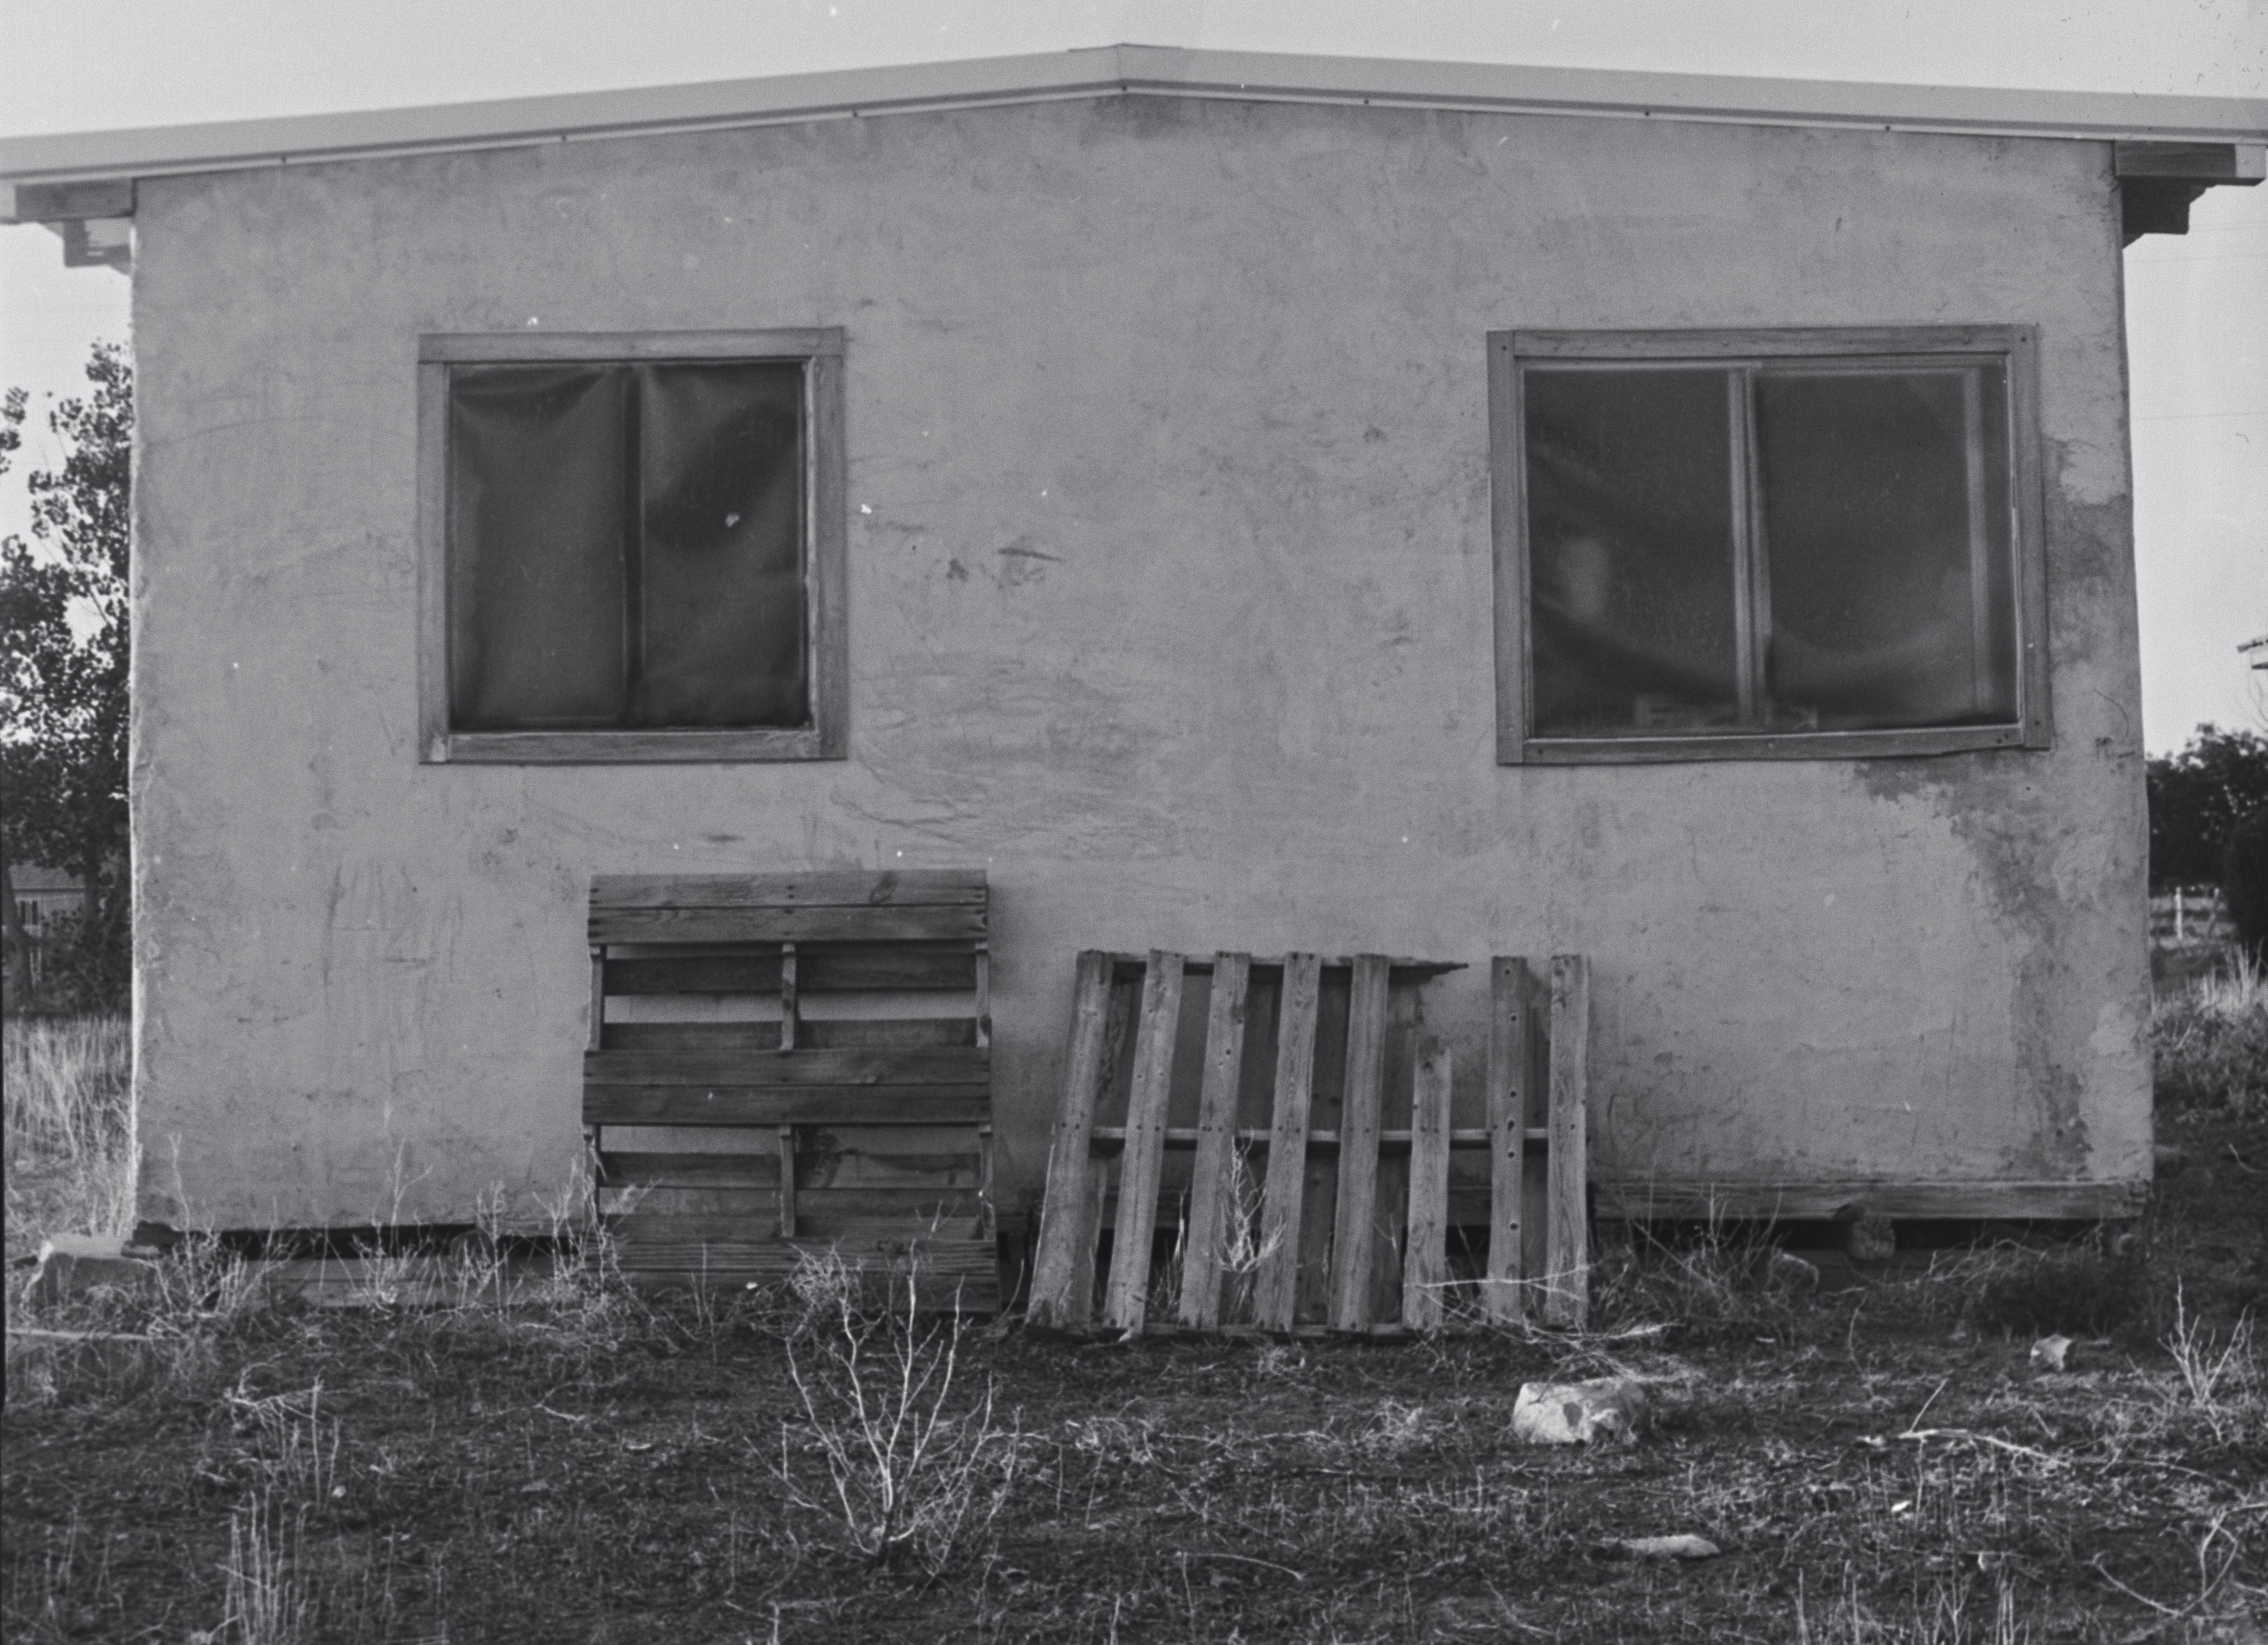
I like this ISO the best, so far. To me, the contrast seems to be a bit more balanced, and I did not need to fiddle with the contrast slider for this effect. This was shot at about 06:50, with clear sky, and the sun coming in at almost 90° to the lens, from the right. You will notice that the sun is coming in from the left, that is because I scanned the negative reversed. Ah, the learning curve is getting steeper! You get the idea, though.
The film that I have, right now, is Fomapan 400. It seems to do a pretty decent job, when the light is not that strong, but I don’t think that this camera can handle high EV with a fast film, at least, I have-not found a good combination to get it done. I suspect that it my unfamiliarity with the camera.
Look at the last picture, after I edited it in monochrome, with the B&W filter on Lightroom turned off.
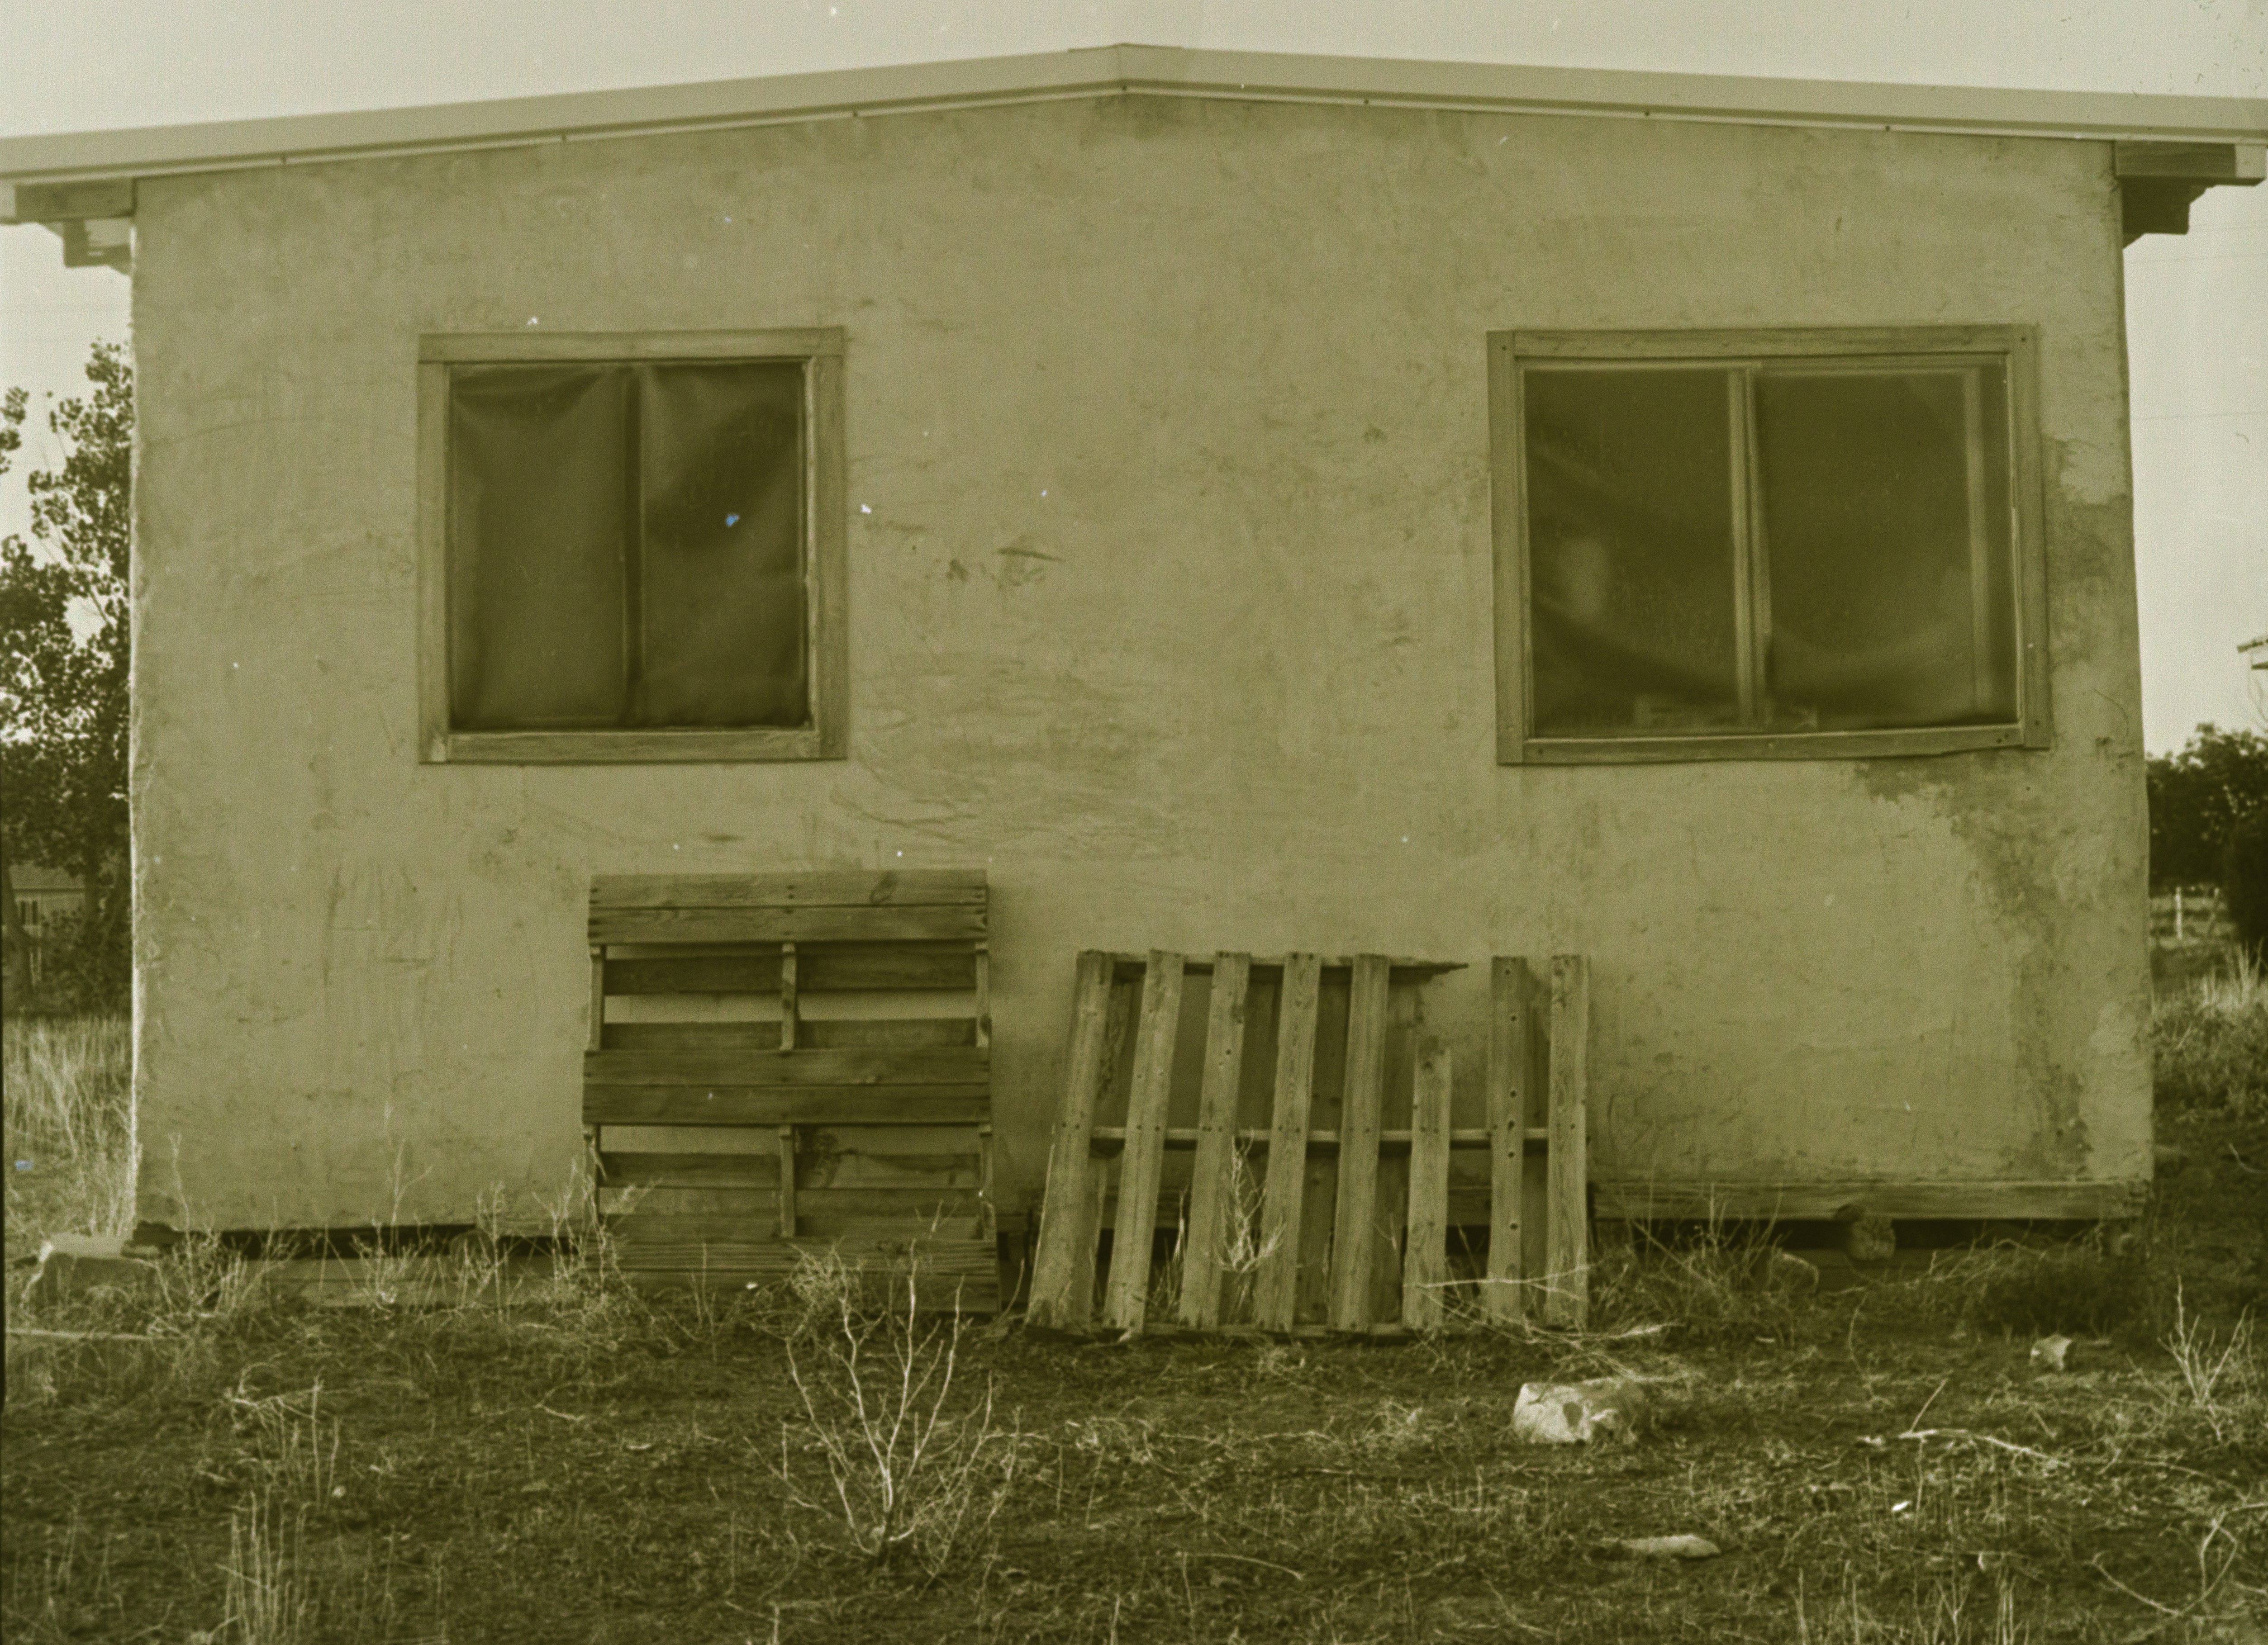
Is that the fucking ugliest picture you have ever seen? If not, it’s gotta be close.
Here is my second setup from yesterday.
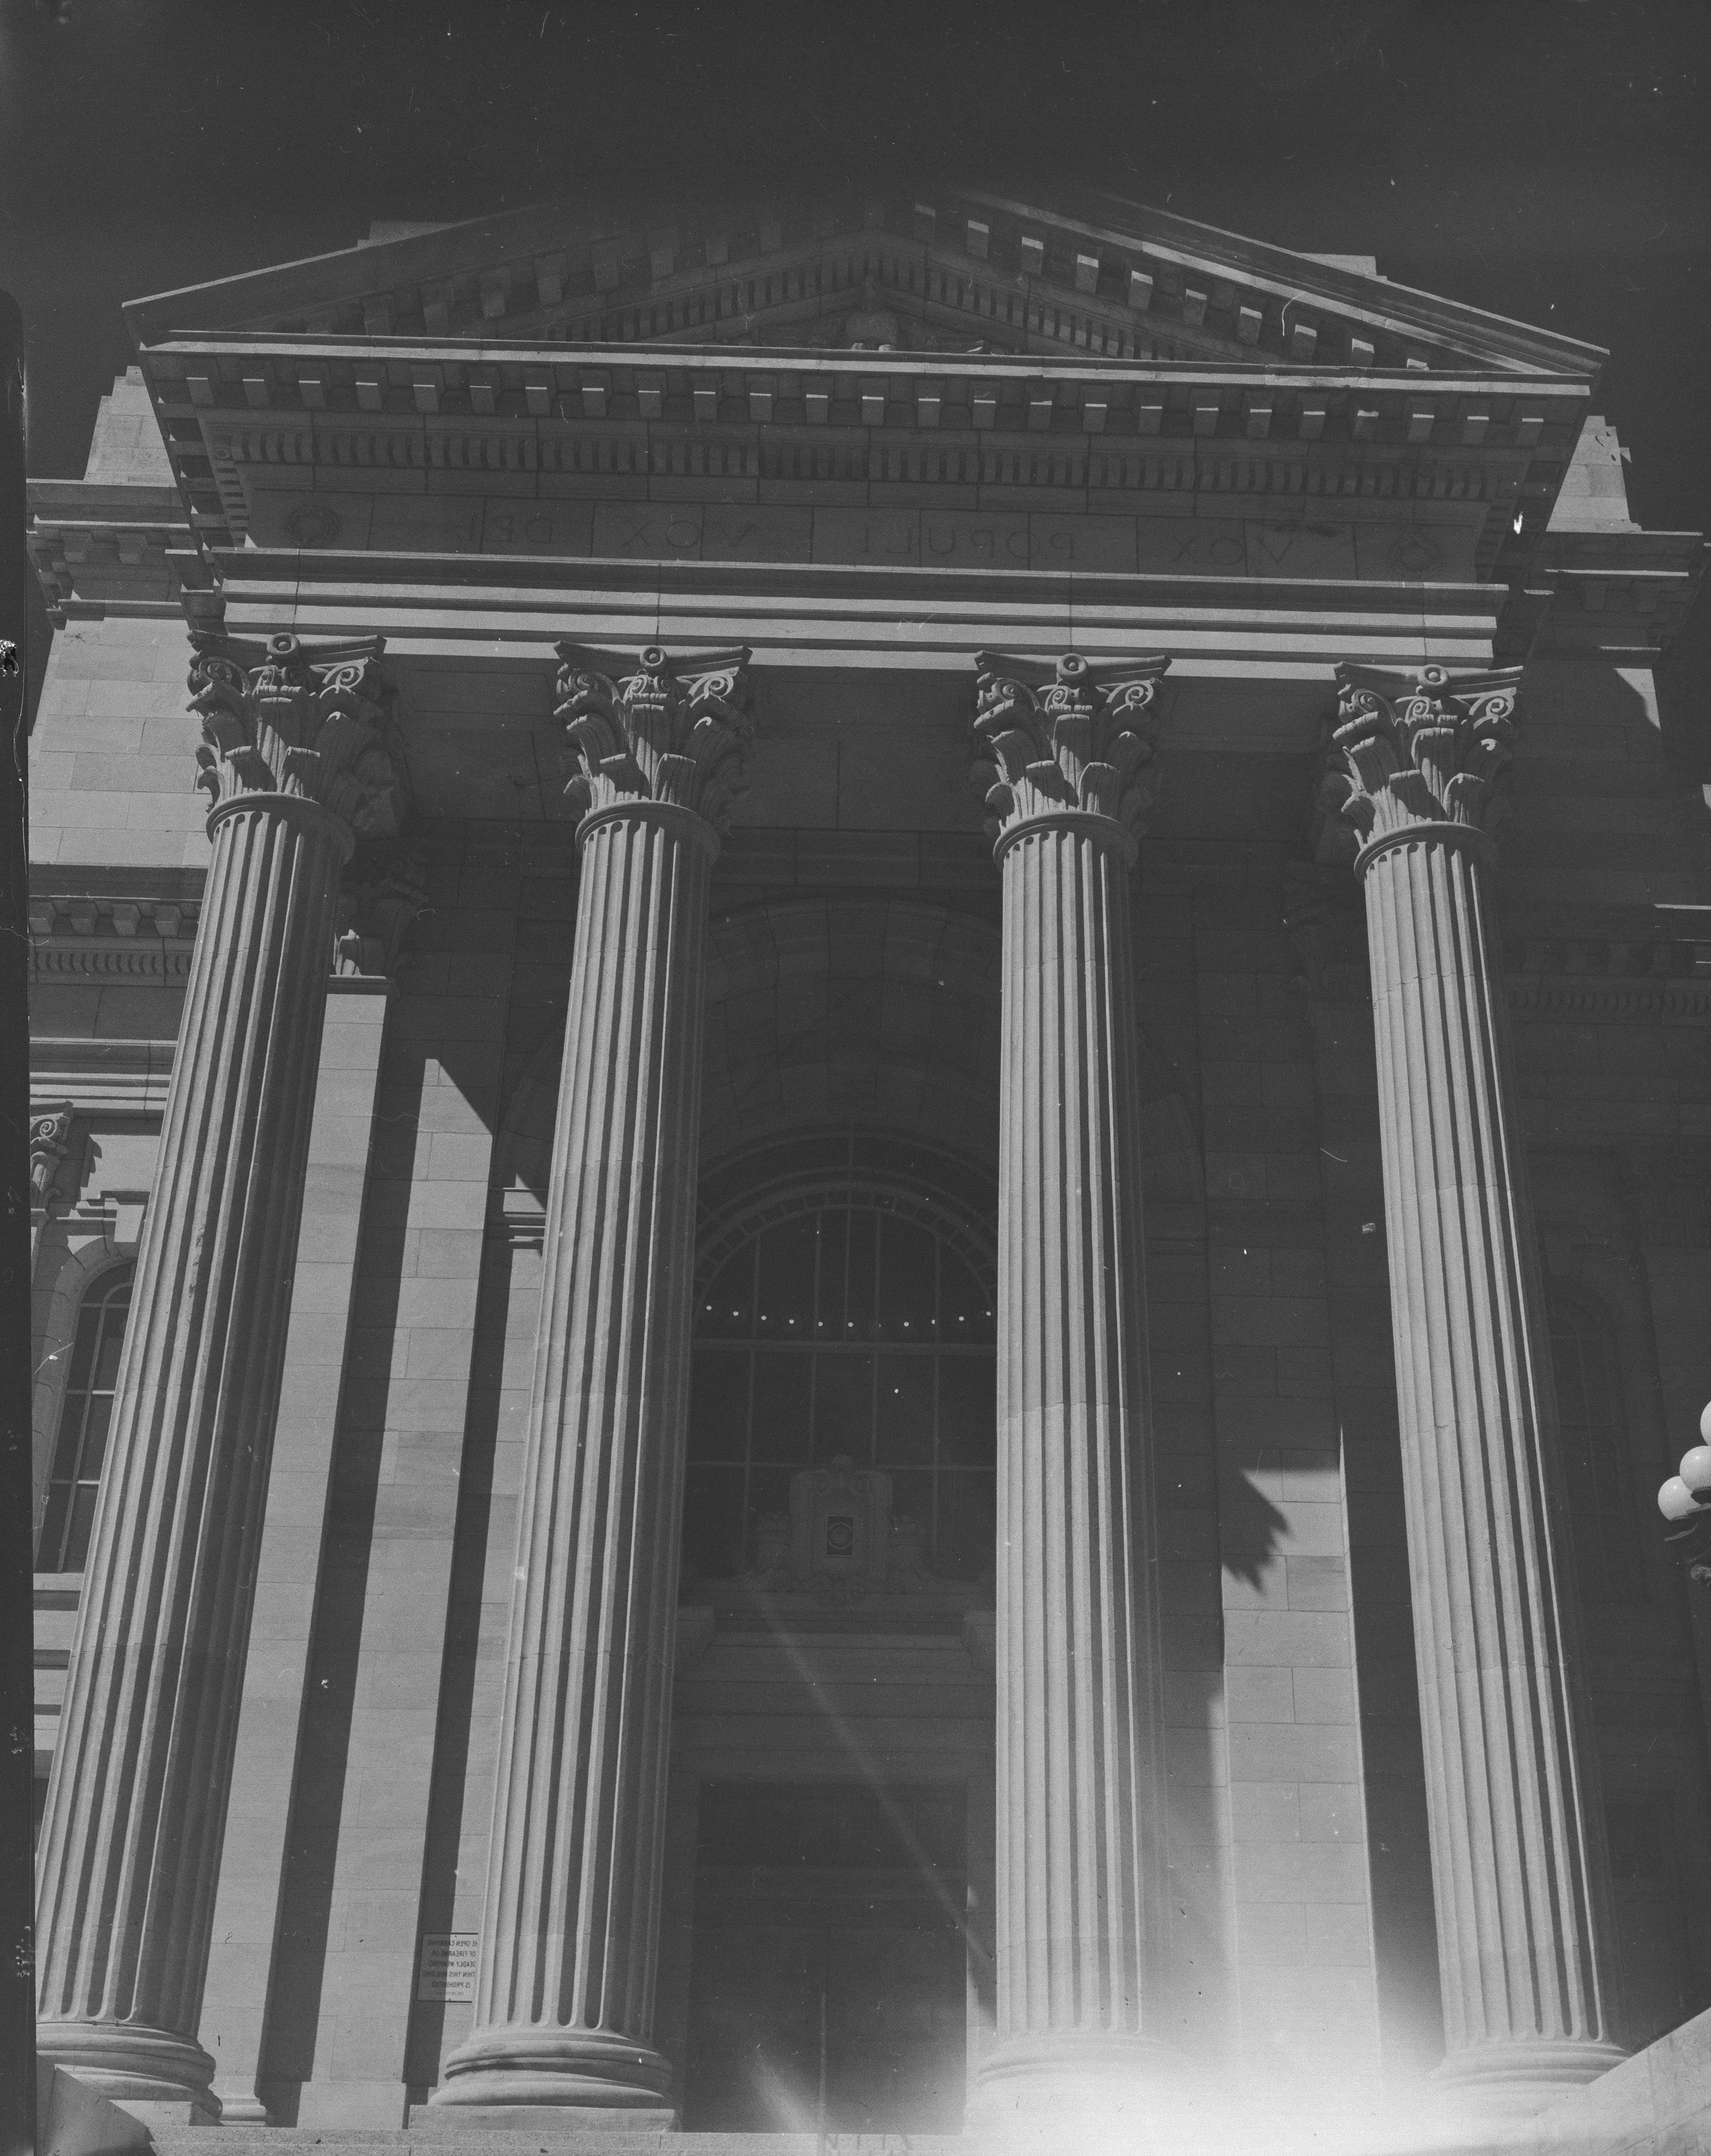
A couple of new things going on in this picture.
This is the first time that I tried to take a shot with the camera setup for portrait orientation. You can see the light leak on the bottom of the frame, so I am assuming that I did not fully seat the Graflok film holder when I switched from landscape. You will also notice the black bar across the top of the frame? I think that this was because I used the sun-shade/lens hood, and didn’t adjust it properly.
Here’s what that lens hood looks like.


I had checked the view, once I had set my focus, and I did not see any impingement on the shot, but I took the hood off to change a setting and in putting the hood back on, I might have not reset the hood properly. Alas.
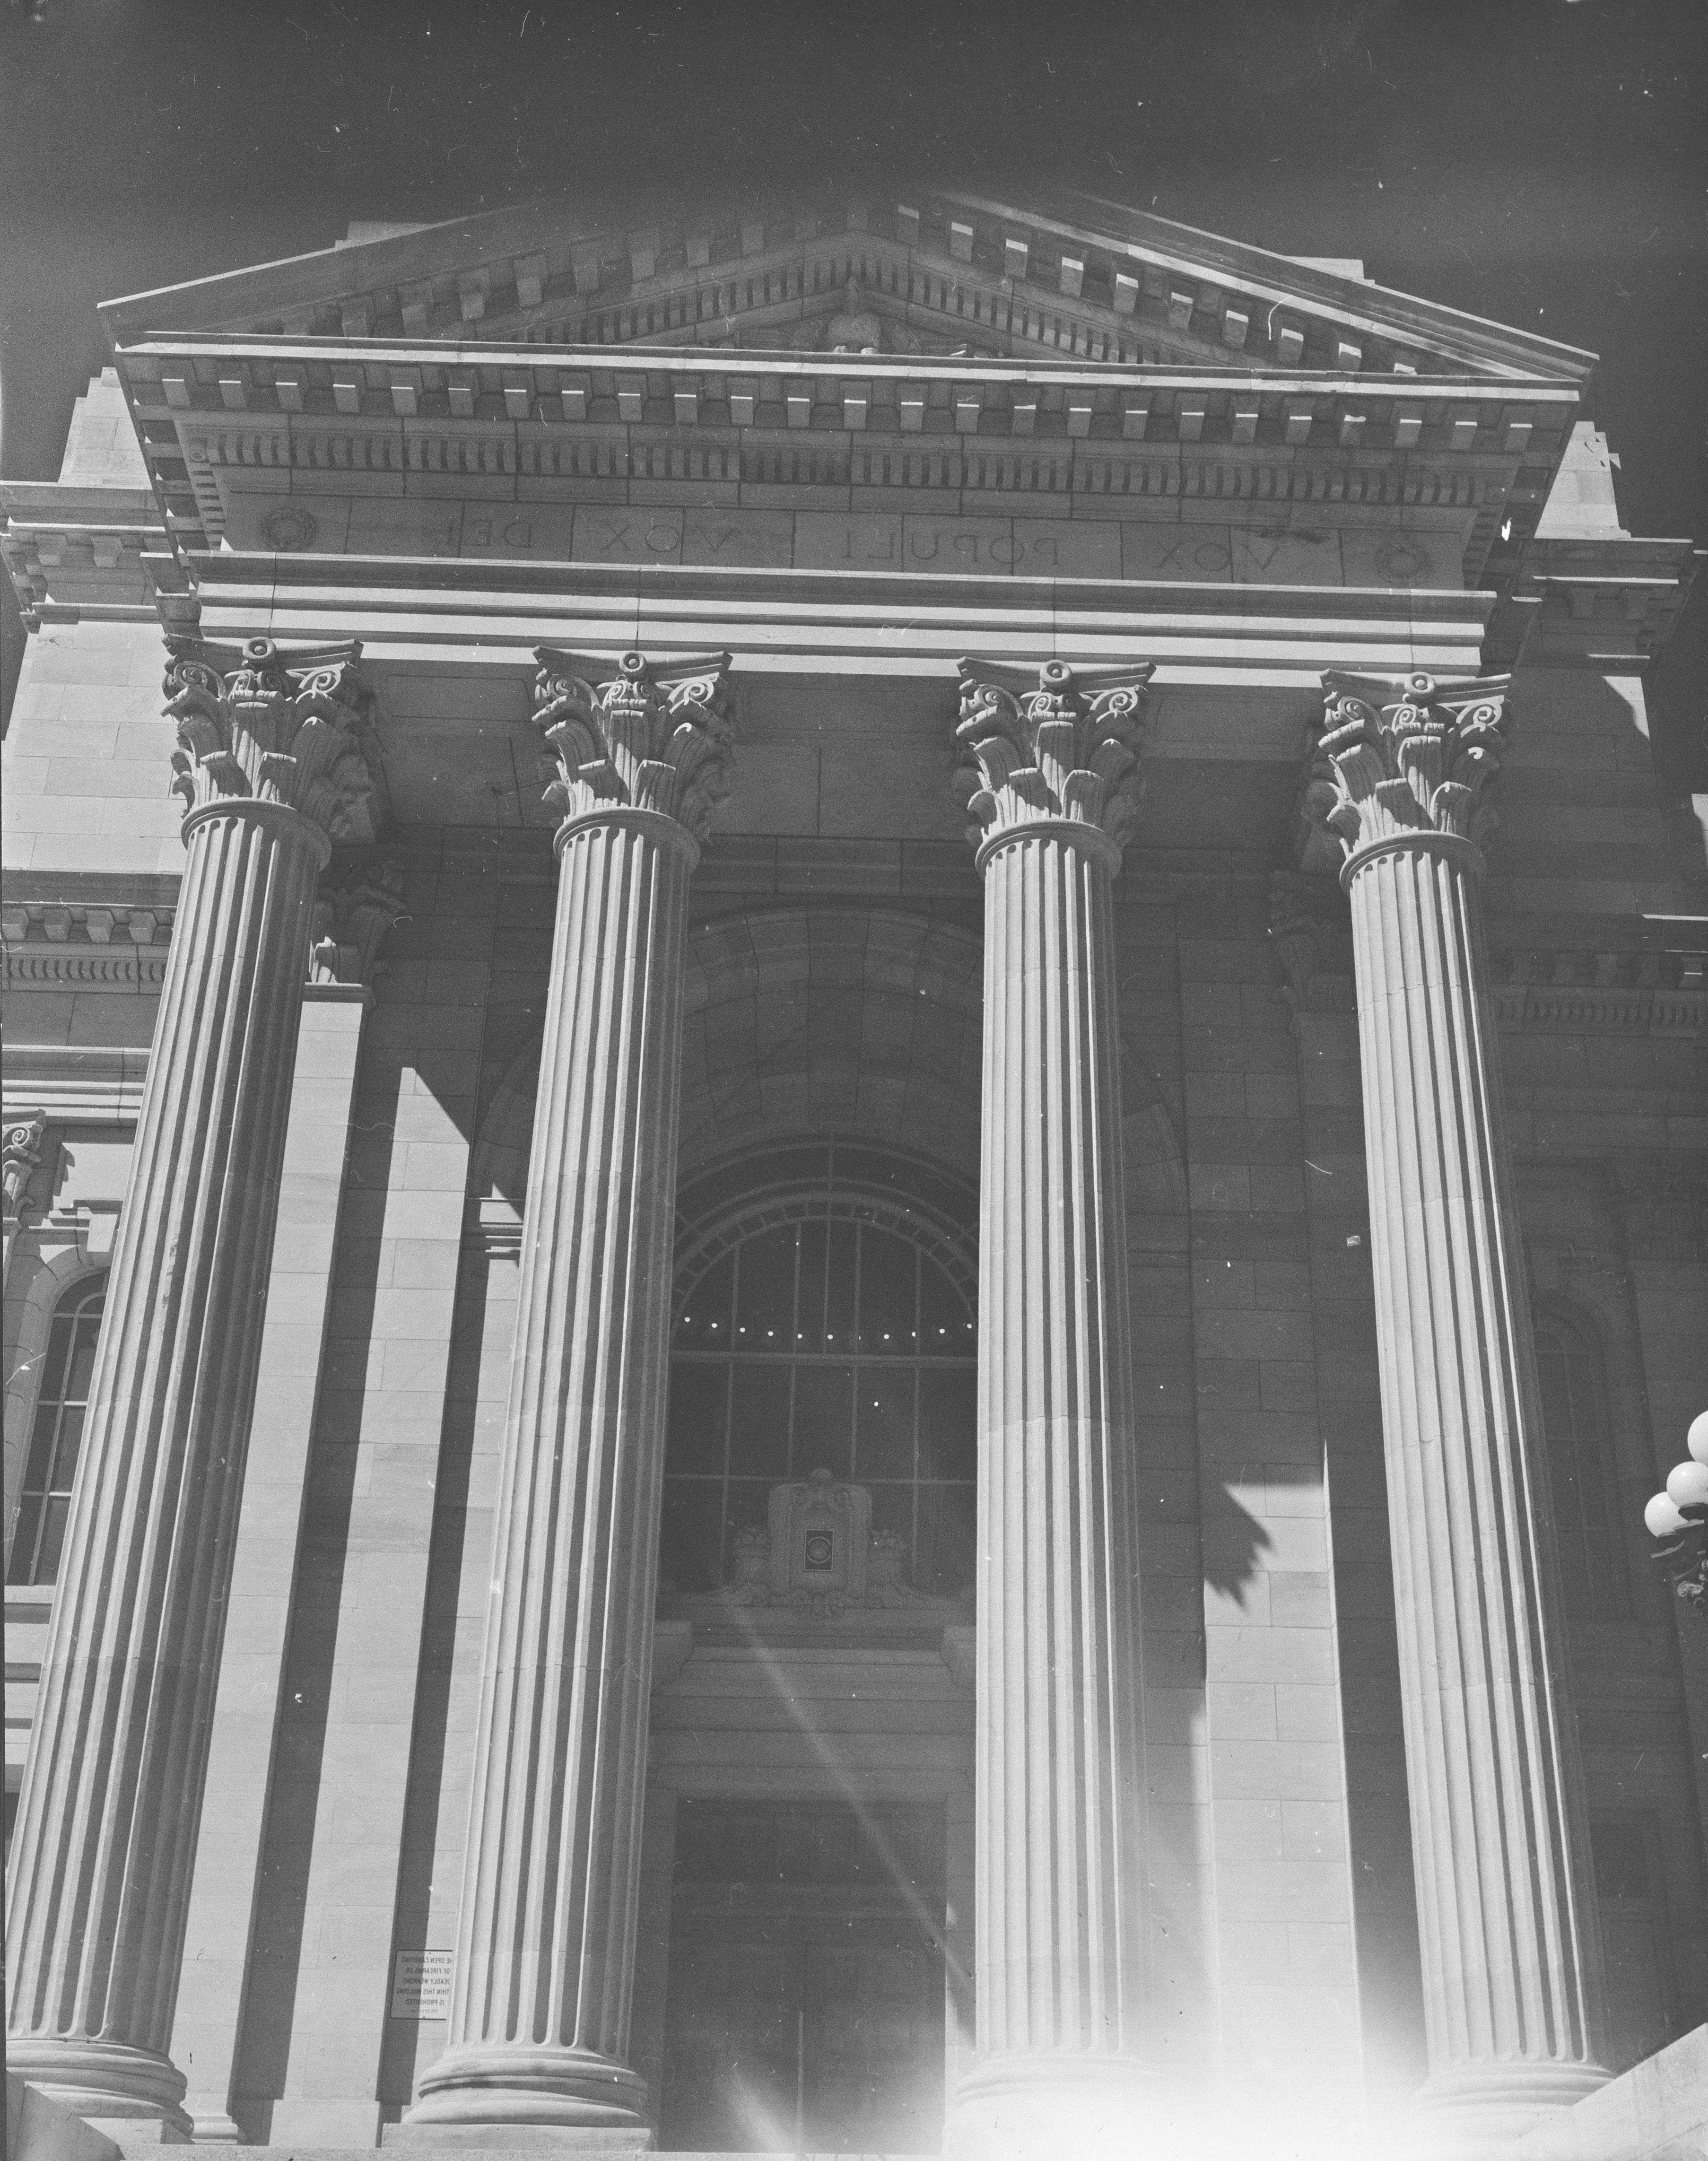
Here’s what I am very happy about in this shot: everything is in focus!
This is the main door of the Pueblo County headquarters. What you don’t see in this shot are the substantial flight of stairs, leading up to the landing. About 25 feet of elevation from where I was shooting, and another 60+ feet to the top of the capitals. I spent a good 20 minutes adjusting this, and that, until I finally got everything into focus. It was a challenge to use the tilt to focus on section of the column, then find that my original point of focus had gone soft on me. I got there in the end, and that makes me very happy. I used a 5X loupe to scan the ground glass and I can’t imagine how I could get focus in such a situation without one. With a black cloth draped over my head, in the sun, that was a long 20 minutes. I still didn’t get the shot centered correctly, or leveled correctly, but the focus was spot-on, so I’ll take that for a win!
I am also noticing some small, white dots showing up. I didn’t notice them the last time, but I wasn’t using much bellows in those first shots, so I will check for pinholes. I hope that I am wrong, but I don’t think that it will be that difficult of a fix, if there are some.
Little by little!
That camera is gorgeous 😍
Good stuff. Interestingly, reading what you say about the pink cast. A few months back I was getting a slight pink cast but probably in an unrelated way to yours. I convert the raw files from my Fuji X-A3 in Raw Therapee (as my version of LR is too old for it) then edit the resultant tif in Photoshop Elements. It's perhaps an odd, clunky way of doing things. I'm not the most savvy with the computery side of things and RT is a complex beast to say the least, so I haven't delved very deep into it beyond using their pre-loaded film profiles to get nearer to how I want to see the end result. If I remove the colour cast in RT then view the image in PSE, I still seem to get a slight pink cast. All I can put my issue down to is incorrect colour management issues between the two editor programs that I probably ought to sort out. Then again, it's easy to remove the cast in PSE, so I've not bothered. Ahh, technology is wonderful but makes my head hurt sometimes lol.
I can imagine the satisfaction of getting all the camera movements right for optimum focus. Playing around with that sort of thing appeals to me, but I usually get so little time to play around when taking photos that I couldn't justify indulging in LF. I wish every ongoing success with yours though, and look forward to seeing how it all goes 🙂