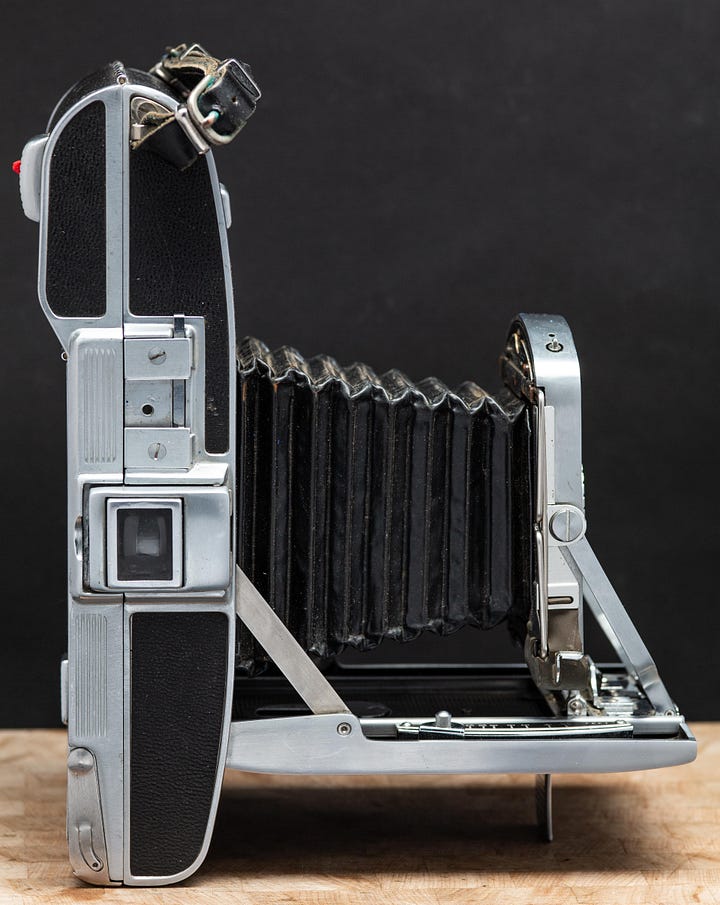
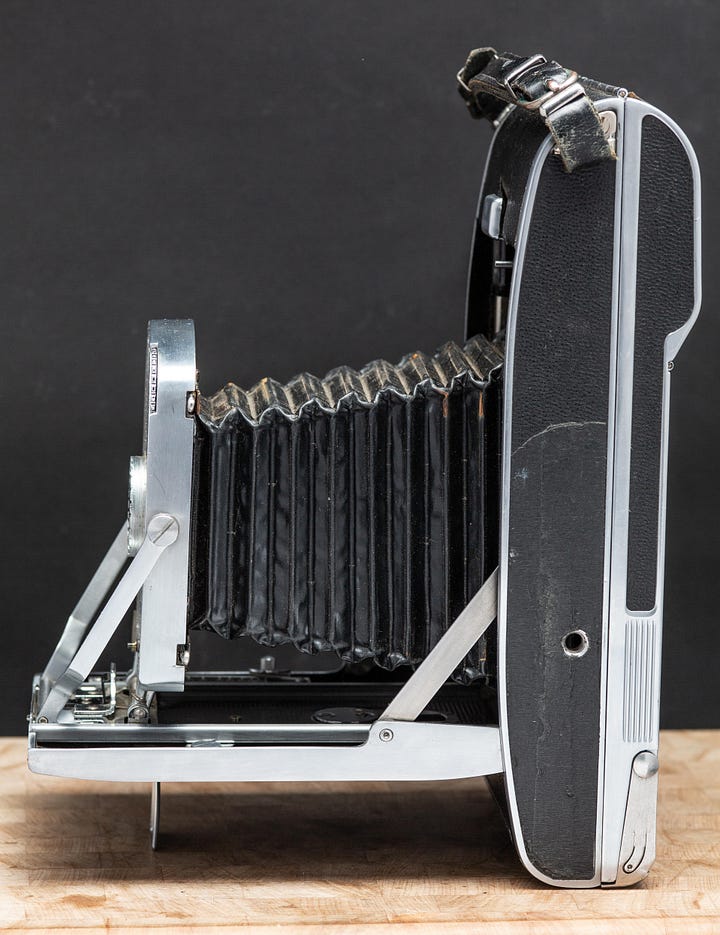
Continuing on with some of the fun and interesting cameras that have come through the shop, we turn our attention to a pioneering camera design, the Polaroid Land Camera. Dr. H. Edwin Land, created the original process for creating “Instant” photos. While the process was not exactly instant, it was much quicker than was normal at the time. The Polaroid process had the added benefit of not needing to take your film to the drug store for processing and printing.
This is the Model 100. It is an improved version of the Model 95A. The first camera that Polaroid made, the model 95. The first manufacturing run of the Model 95 was limited to only 60 cameras. The company sold those cameras in one day. This Model 100, had better light-sealing, a stronger shutter/aperture combination, and was able to integrate with a flash-gun.
For those of you who are not familiar with early Polaroid cameras, they used roll film, not the pack film that came with the second version of the Model 100.
The process that Dr. Land had (excuse the pun) developed, required two parts of the film to be stored separately, but attached, on the same “roll”.
If you look at the picture above, you will see two vertical chambers on either side of the bellows. This would make one think of a typical roll film camera design, but it is not. The roll fit that one would use in this camera had two spools (with 8 exposures per roll of film), and those spools went into the chambers, depending on the purpose of that spool in the Polaroid process.
When you opened the packaging that carried the film, the two spools would be connected with a stiff, paper leader. The “Negative” side of the process went into the chamber of the right side of the lens. The “Positive” side of the process went into the chamber on the left.
Once the two spools were placed in the correct chambers, the paper leader was laid over both, with the leader being placed on the left side of the camera. At that point, the hinged door on the right (with the red rollers), would be folded over the the film and the area of the bellows, covering that section of the camera, and becoming the back-plate that the “negative” side of the process would sit against when a picture was taken. Remember, the negative was on the right, the positive was on the left.
Once the first, inner door had been closed over the film, the second door (which was the actual “Back” of the camera could be closed. Keeping in mind that a long paper leader was still attached to the two film spools, that leader would be threaded through the rollers you see here, the back would be closed and locked. This would leave just a tab of the paper leader sticking out on the right side of the camera (if you are holding the camera as though to take a picture). Here is what the back of the camera looks like when it is closed.
Picture a paper tab, sticking out of the right side. If you are ready to take the first picture, you pull the paper tab. Two things happen at this point. First, the first negative is drawn across the back of the camera, resting against the first door that had been closed. Second, the positive side of the process (the equivalent of the developing solution in a traditional darkroom) would be staged and ready to develop the negative plate of film. There is another paper tab that remains. It is this tab that you pull (again) to activate the Polaroid process.
Keep an eye on that flip-open door with the thumb opener latch.
Now, you take a picture.
Having done so, you pull on the exposed paper tab. As you do so, the negative side is combined with the positive (developing) side of the process, and the two plates are squeezed through the rollers that are under, and just to the left of, that red plastic button in the picture above. It was that final squeezing process that started the developing of the negative plate. The two plates came to a stop under the flip-open door. And, if that wasn’t cool enough, the process of pulling out the shot that you just took, indexed the next shot into position, so that you would be ready to take the second picture on the roll of film.
Once you had waited the required amount of time for the Polaroid Process to develop your picture, you would open that flip-open plate on the back, and peel your picture out of the back of the camera. VOILA!


Dr. land, revolutionized photography in the second half of the 20th Century. While the process seems simple enough and straight-forward to use today, it was nearly miraculous at the time. With the Polaroid Land Camera, and the Polaroid Process for film, you could now embarrass your relatives at Thanksgiving, or Christmas, without having to wait for the drugstore to develop your film and print your pictures!
An amazing, modern world we live in.


What did this go for? Is film still available for it?
.. a sensational ‘walk through ! There’s some bits & pieces in our surviving ‘family photo archives.. via this particular camera model - among others - one needed to be ‘rigorous & disciplined - is all I recall in my early days watching the adults take such photos - Later we’d have clients needing endless polaroids during Product or Fashion gigs. The negs were fantastic ! We knew the prints were hardly ‘archival & sensitive to ‘handling ..
Cinematic ‘Continuity Departments demanded time to shoot polaroids & SX 70 comin real soon ! - I’d shoot them for ‘continuity clerks who knew me as a pro Sound & Boom Man - We were into ‘every new thing in 35mm too.. thus we shot pro beach volley ball stills with Polaroid B & W Transparency plus our personal High 8 camcorders & even 16mm color neg.. it’s a fun thing to trace & follow ‘the Polaroid tradition ! My son at three in Vancouver ! Avast ! 🦎🏴☠️
https://tod.aminus3.com/image/2009-03-04.html